

How to build Serverless GraphQL API using AWS AppSync
Featured Services: AWS AppSync, Lambda and DynamoDB


What is GraphQL?
GraphQL is a query language for APIs which provides a complete and understandable description of the data in the API. GraphQL APIs give the exact data that the client wants, nothing more or less.
GraphQL is fast and flexible to use as compared to REST. GraphQL allows clients to decide what data to be returned unlike servers in REST. GraphQL reduces the number of HTTP requests since it can get you all the data required by your app in a single request. According to official documentation, apps using GraphQL can be quick even on slow mobile network connections.
GraphQL Operations
- Query - Used to fetch the data from the GraphQL API, same as GET request
- Mutation - Used to manipulate the data, same as CREATE, UPDATE, DELETE
- Subscription - Used to listen or subscribe to the changes to the data
What is AWS AppSync?
AWS AppSync is a fully managed, serverless GraphQL API service offered by Amazon Web Services. AppSync allows developers to build GraphQL APIs without much hassle; it takes care of the parsing and resolution of requests.
It also natively supports integration with other AWS services like AWS Lambda, NoSQL and SQL databases, and HTTP APIs to gather backend data for the API.
What are we going to build?
We will build a GraphQL API using AWS AppSync to perform CRUD operations. For example, we will make an API that will allow us to create, read, update and delete a blog. We will use DynamoDB to store our blog data to achieve the functionality of the CRUD API we will use Lambda. To configure our resources we will use Serverless Framework.
Initializing the project
First of all, create an empty directory and we will create a new serverless project in this directory. You can use the following command to do that.
serverless create --template aws-nodejs
The above command will create a new serverless project for you from scratch and you can find the serverless.yml file in the editor. This file is the heart of the project, where we will define all our infrastructure.
This is how the serverless.yml file will look after all the resources are defined. I will explain each section of this file further.
Firstly, start defining the basics like region, stage, and global configuration variables in the provider section.
provider:
  name: aws
  runtime: nodejs12.x
  lambdaHashingVersion: 20201221
  region: ${env:REGION, 'ap-south-1'}
  stage: ${opt:stage, 'dev'}
  timeout: 30
Then, we define global-level environment variables, as defined in the image below.
  # Environment variables
  environment:
    STAGE: ${self:provider.stage}
    REGION: ${self:provider.region}
    SERVICE_NAME: ${self:service}-${self:provider.stage}
    DYNAMODB: ${self:service}-${self:provider.stage}
IAM Role Statements
Since we are going to use DynamoDB to store the data and it will be integrated with the lambda function, we will need to define IAM role statements to give permission to the lambda function to access our DynamoDB table.
# IAM statements
  iamRoleStatements:
    - Effect: Allow
      Action:
        - dynamodb:GetItem
        - dynamodb:UpdateItem
        - dynamodb:DeleteItem
        - dynamodb:PutItem
      Resource: "arn:aws:dynamodb:${opt:region, self:provider.region}:*:table/${self:provider.environment.DYNAMODB}"
    - Effect: Allow
      Action:
        - lambda:invokeFunction
      Resource: "*"
serverless-appsync-plugin
serverless-appsync-plugin allows us to deploy AppSync API without much hassle, it provides a lot of configurations to set up your API on AppSync.
plugins:
  - serverless-appsync-plugin
Lambda Functions
Since we are going to use lambda resolvers, so we don't need custom resolver mapping templates (request-response VTL templates). Below is how all the lambda functions are defined.
functions:
  createBlog:
    handler: createBlog/index.handler
    name: createBlog-${self:provider.stage}
  getBlog:
    handler: getBlog/index.handler
    name: getBlog-${self:provider.stage}
  updateBlog:
    handler: updateBlog/index.handler
    name: updateBlog-${self:provider.stage}
  deleteBlog:
    handler: deleteBlog/index.handler
    name: deleteBlog-${self:provider.stage}
Now, it's time to set up the appsync configuration provided by serverless-appsync-plugin, this plugin has a lot of configurations available, in the below code snippet you can find some of them. In the custom section of the serverless.yml file, we can define the configurations.
To know more about what each of these configuration parameters does, head over to this link.
custom:
  appSync:
    name: appsync-crud-api
    schema: schema.api.graphql
    authenticationType: API_KEY
    apiKeys:
      - apiKey
    dataSources:
      - type: AWS_LAMBDA
        name: createBlog
        description: 'Lambda'
        config:
          functionName: createBlog
      - type: AWS_LAMBDA
        name: getBlog
        description: 'Lambda'
        config:
          functionName: getBlog
      - type: AWS_LAMBDA
        name: updateBlog
        description: 'Lambda'
        config:
          functionName: updateBlog
      - type: AWS_LAMBDA
        name: deleteBlog
        description: 'Lambda'
        config:
          functionName: deleteBlog
DynamoDB Table
To store the blog data we are using the dynamodb table which can be configured like the below:
resources:
  Resources:
    BlogsTable:
      Type: 'AWS::DynamoDB::Table'
      Properties:
        AttributeDefinitions:
          - AttributeName: id
            AttributeType: S
        KeySchema:
          - AttributeName: id
            KeyType: HASH
        ProvisionedThroughput:
          ReadCapacityUnits: 1
          WriteCapacityUnits: 1
        TableName: ${self:provider.environment.DYNAMODB}
GraphQL Schema
Every graphql API needs a schema where we define all the operations(query, mutation, subscription). We will need to create a file named schema.api.graphql. This same file we have referred to in the appsync plugin configuration is in the custom section. The file should look something like this:
schema {
    query: Query
    mutation: Mutation
}

type Query {
    # Query for blog details
    getBlog(id: ID!): Blog
}

type Mutation {
    # Create blog
    createBlog(input: CreateBlogInput!): AWSJSON

    # Update blog
    updateBlog(input: UpdateBlogInput!): AWSJSON

    # delete blog
    deleteBlog(id: ID!): AWSJSON
}

input UpdateBlogInput {
    id: ID!
    title: String
    blogUrl: String
    author: String
    publicationDate: AWSDate
}

input CreateBlogInput {
    title: String!
    blogUrl: String!
    author: String!
    publicationDate: AWSDate!
}

type Blog {
    id: ID
    title: String
    blogUrl: String
    author: String
    publicationDate: AWSDate
}
Lambda Function Code
Now it's time to move towards lambda functions, which will act as a resolver for the API. Hence the name, "Lambda Resolvers". As you can see in the image below, I have created a folder for each of the lambda functions which we defined in the functions section in the serverless.yml file.
All four lambdas just perform very simple dynamodb CRUD operations using dynamodb DocumentClient() from aws-sdk. I won't explain the lambda code since it's really straightforward. You can head over to this repository and find the code.

If you have followed until now, then it's time to deploy our service 🚀.
Use serverless deploy to deploy all of your defined resources to the aws cloud. This will give you the deployed API URL and API_KEY in the console which can be used by the client application.
Testing the GraphQL API
Once your deployment is successful, you'll see something like this in the AppSync console. You'll see a tile with the name you have given to your API.
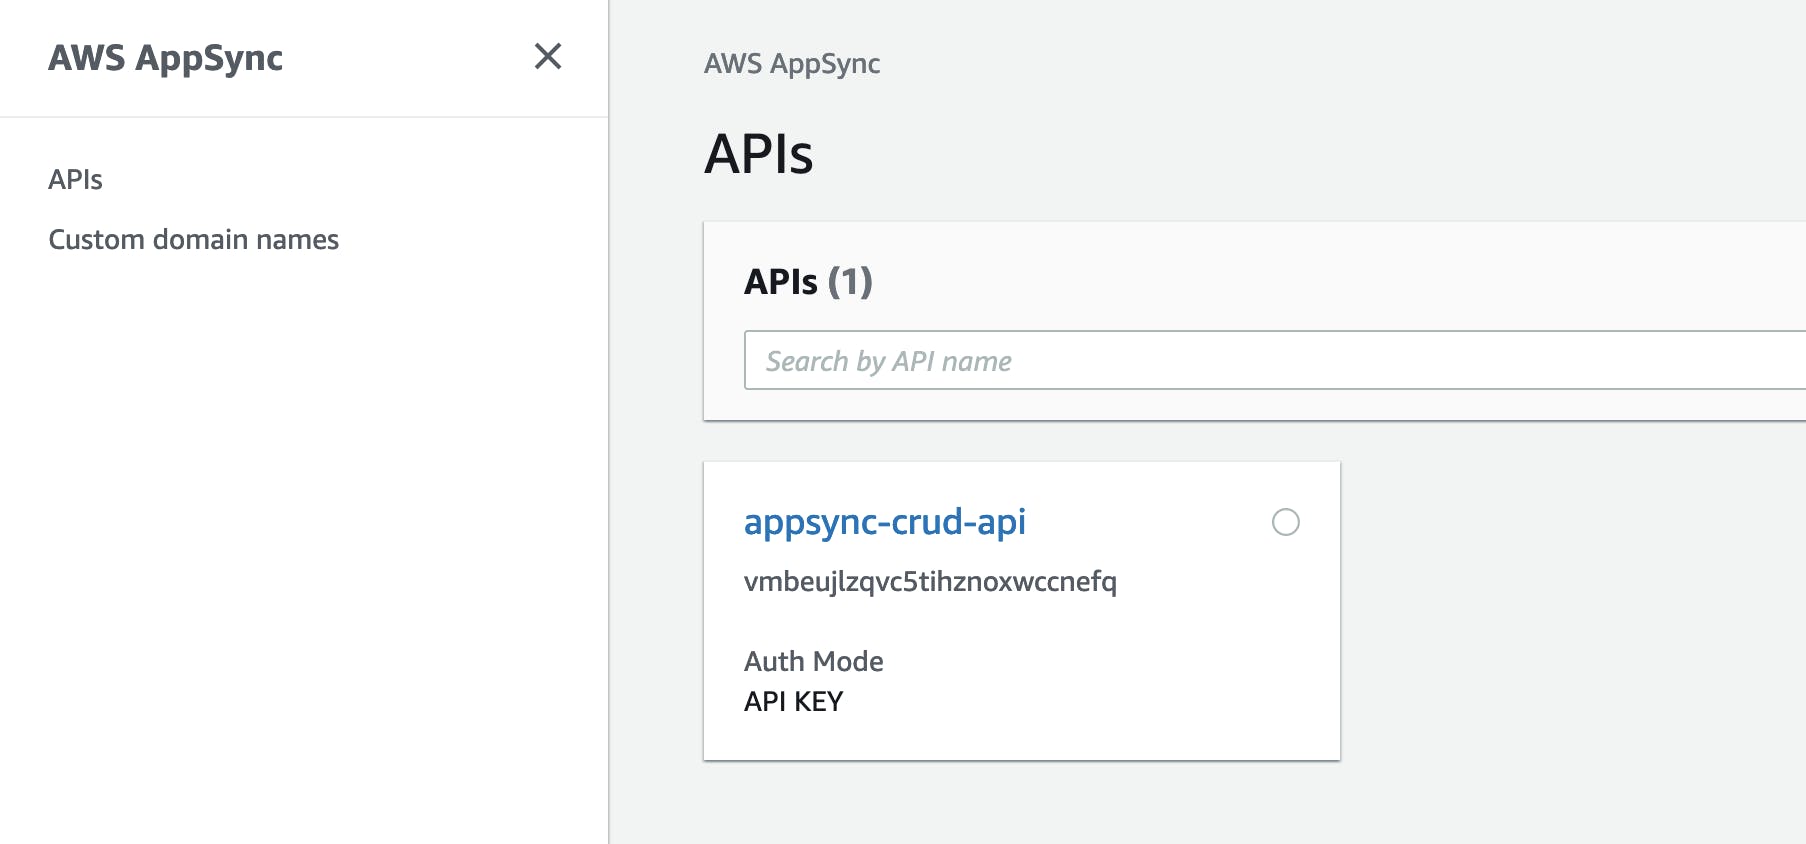
Click on the tile and you'll see another interface, then in the left nav click on Queries. You should see the following interface where you will find all the CRUD operations we have defined in our schema.api.graphql file.
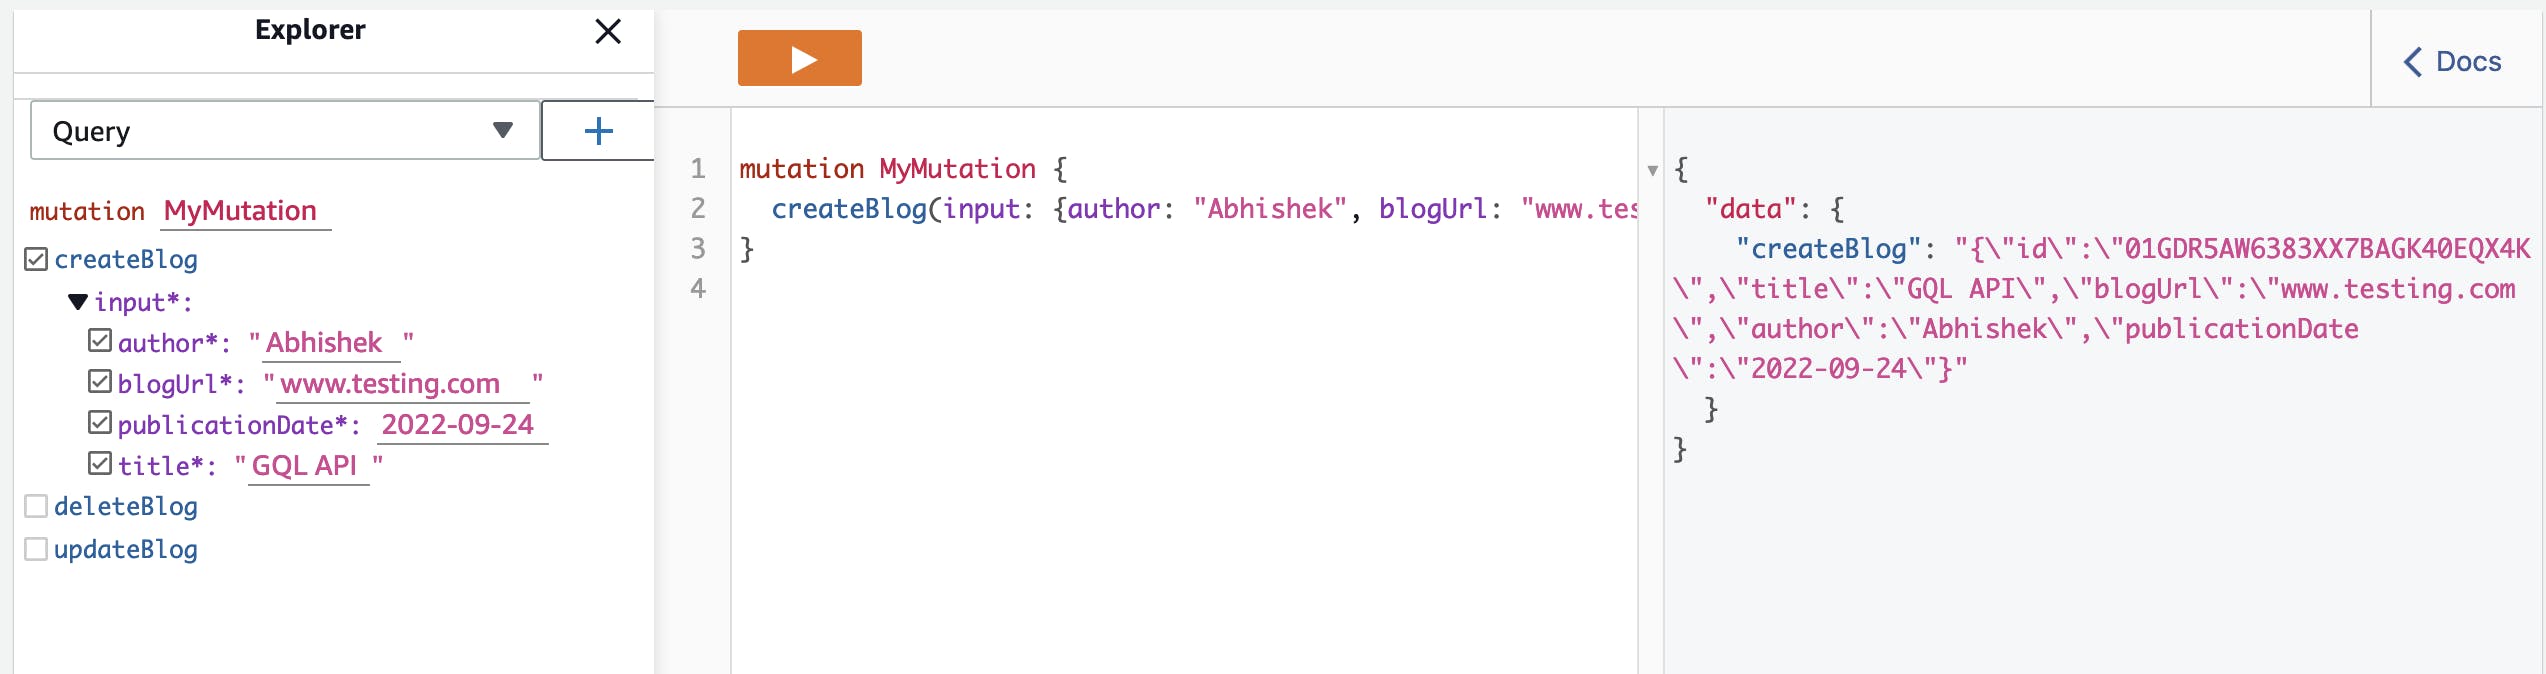
In the mutations section, you'll find createBlog, updateBlog, and deleteBlog, and in the queries section, you'll find getBlog.
You can then test the createBlog mutation by entering some data and hitting the play button on the top should give you the success response by returning the created blog's data in the rightmost window.
By doing the same steps, you can test the other operations as well.
Aaaand 🥁, we are done with the whole backend side of things. We just created an API for a simple blog application.
That's all for this blog, if you liked it do not forget to react to the blog. Thanks for reading and following along, Peace ☮✌️.
Feel free to reach out to me:
GitHub - https://github.com/iabhishek07
Twitter - https://twitter.com/abhishekrwagh
LinkedIn - https://www.linkedin.com/in/iamabhishek21/
Email - waghabhi21@gmail.com