

What is AWS Amplify
AWS Amplify helps mobile developers and web developers to build highly scalable and secure full-stack applications powered by AWS. Amplify enables developers to easily create custom onboarding flows, develop voice-enabled experiences, and many more.
We are going to use AWS Amplify Console to deploy our static website built using HTML and SASS.
AWS Amplify Console allows users to host static websites along with the accelerated release cycle by providing a simple CI/CD workflow for the deployment.
Initial Requirements
- AWS Account (free tier works!)
- GitHub repository of the project
- A Domain (in case you want a custom domain)
Now head over to aws.amazon.com/amplify and create a free tier account. It's simple you just need to click on 'create an AWS account' and follow the procedure.
How it works: Deploy
Now there are just three simple steps to deploy your static web application with Amplify.
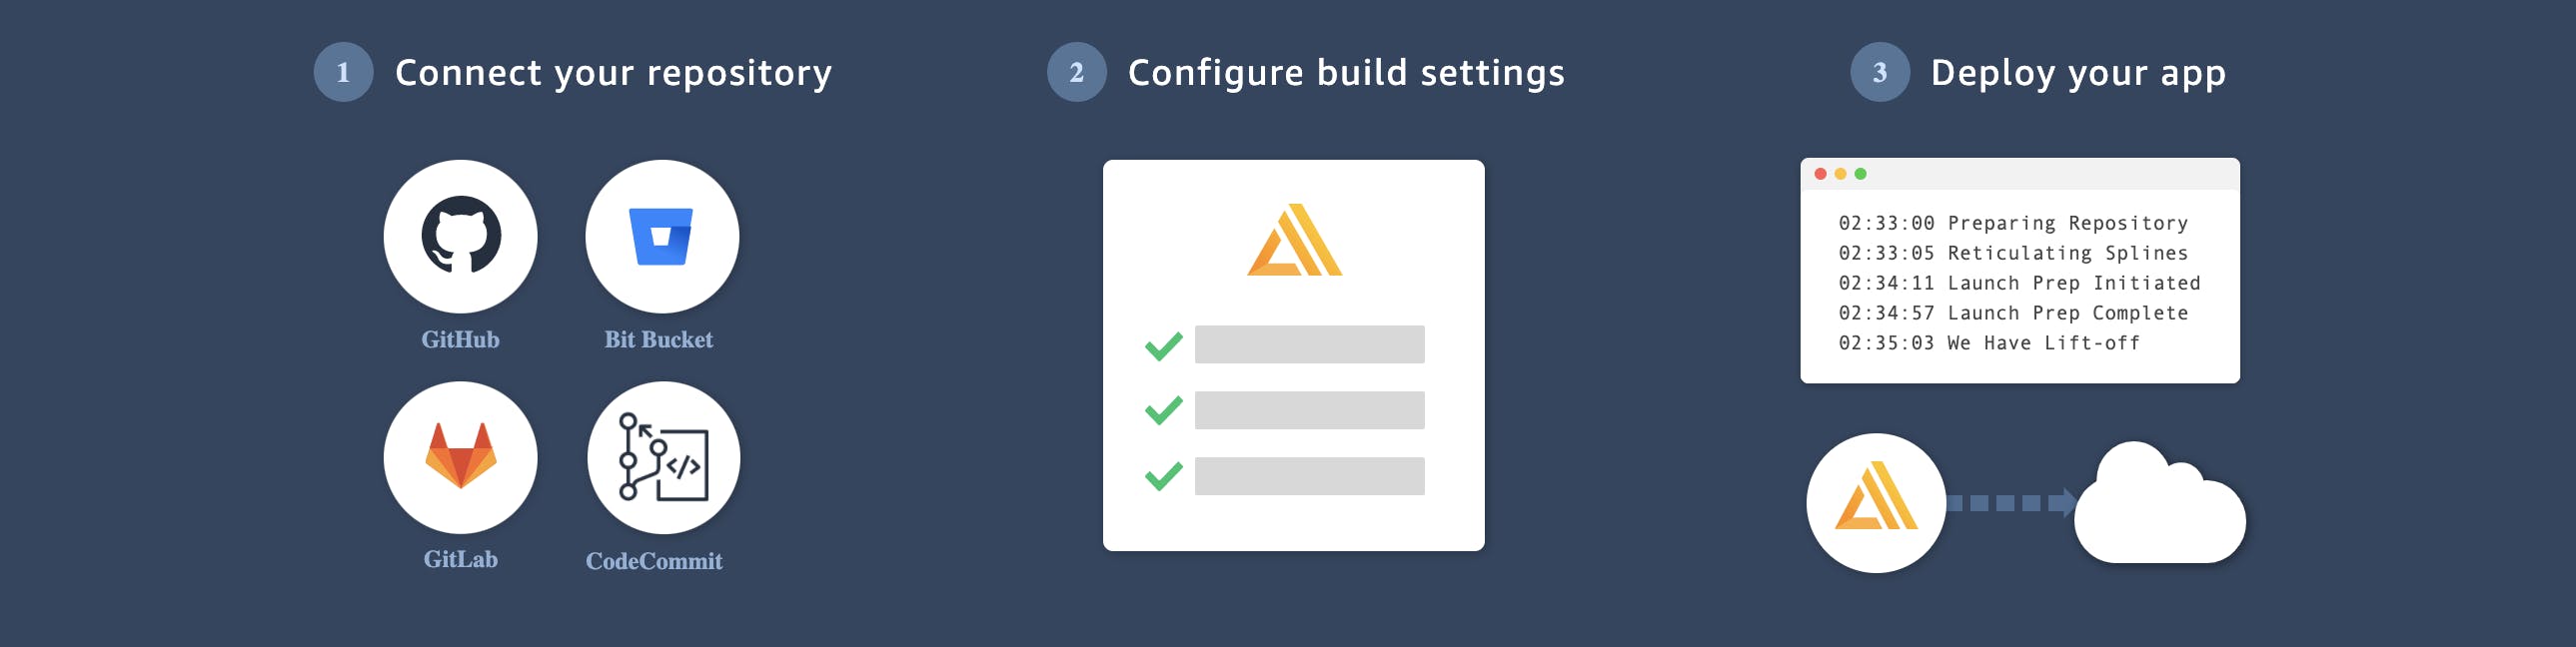
Step 1: Connecting your GitHub Repository
You can upload your project to a repository on GitHub, Bit Bucket, GitLab, or CodeCommit.
I uploaded my website to GitHub, so I am going to select the GitHub option to connect source code.

Click 'Continue' to proceed and now after authentication with GitHub, you have to select a particular branch from the repository, in my case name of the repository is 'Natours' and the branch is 'master'.

Now, click on next and you will be directed to the next step!
Step 2: Configure Build Settings
In this step, you will be asked to pick a name for your application and to review your build and test settings, which are auto-detected by the console itself. In advance settings, you can also add custom build image and environment variables.
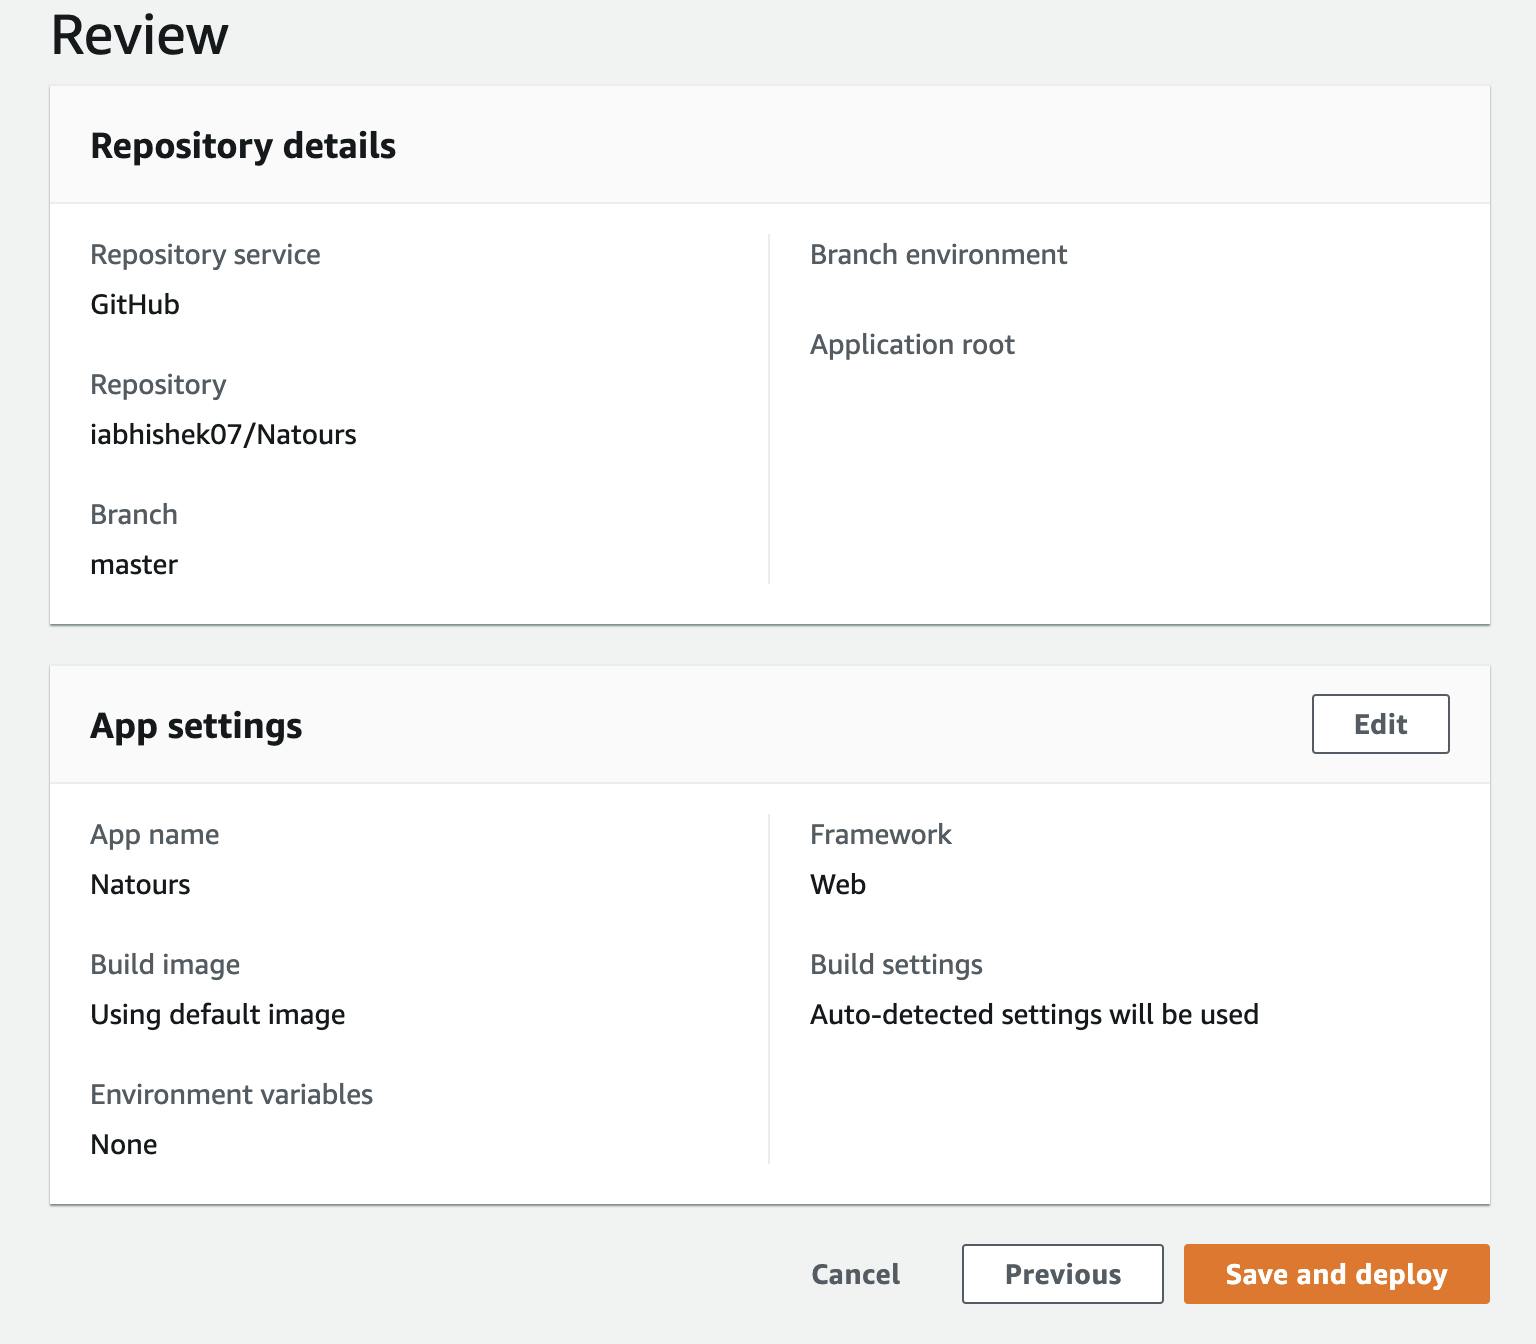
After that, you have to click next and review your 'Repository details' and 'App settings'. If everything is alright, you can click on "Save and Deploy".
Step 3: Deploy your App
When you click on save and deploy, the continuous deployment starts, you can see the following steps on the console:
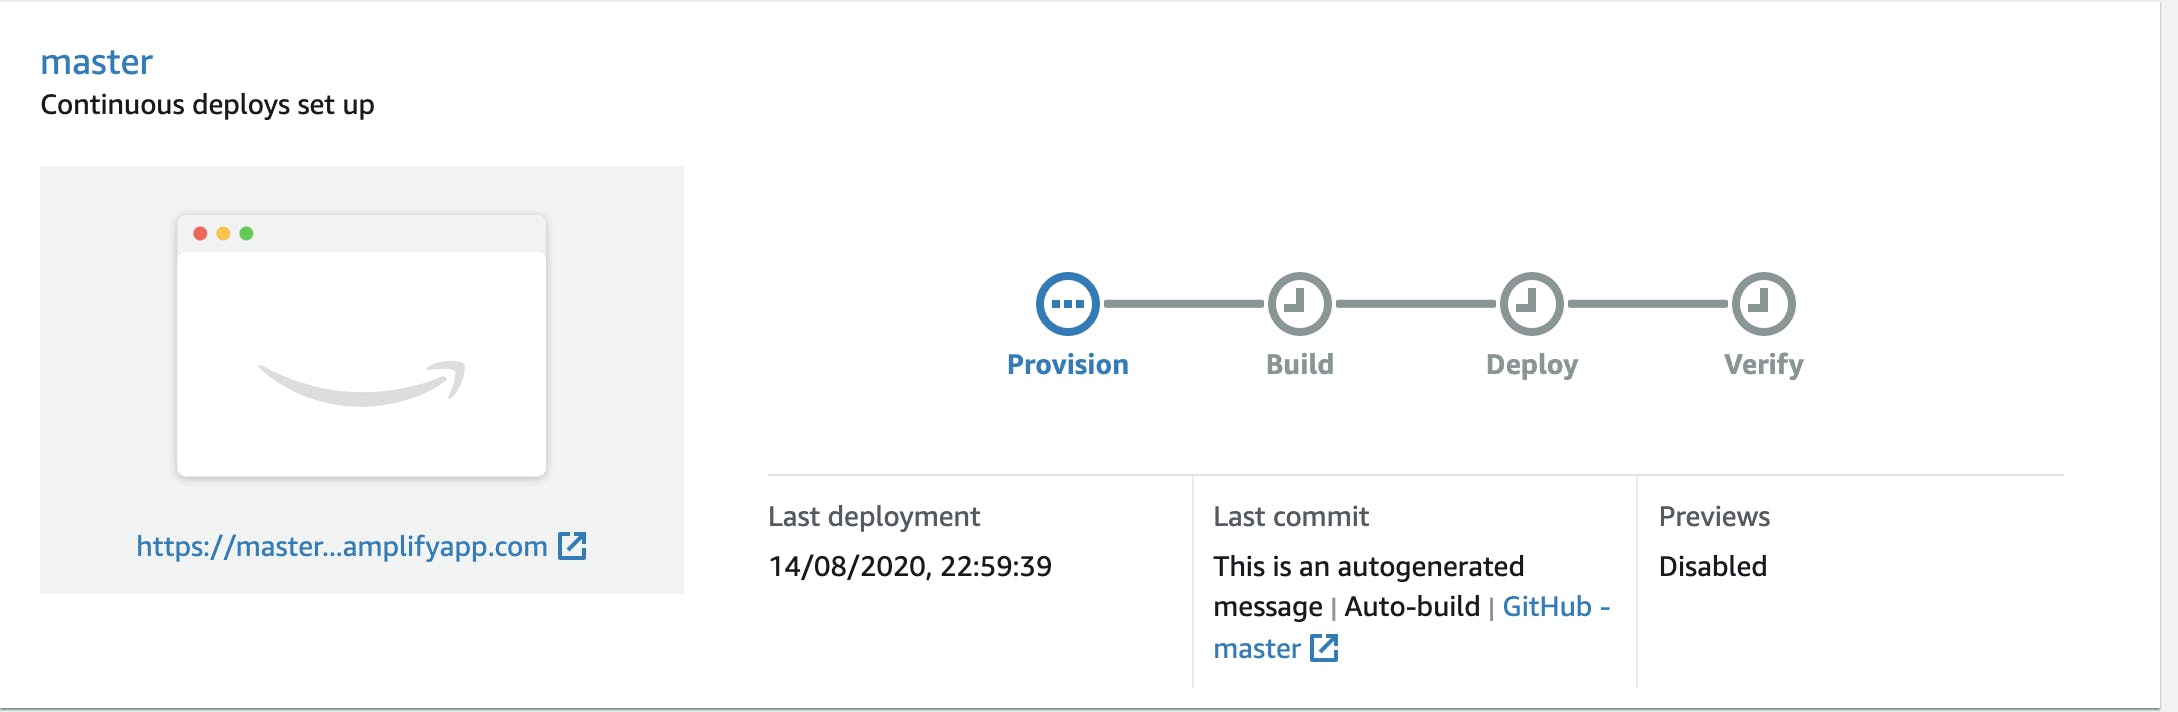
After all the four steps turn into green checkmarks, you can see the following screen, and you can click the website preview on the left side to open your live website!
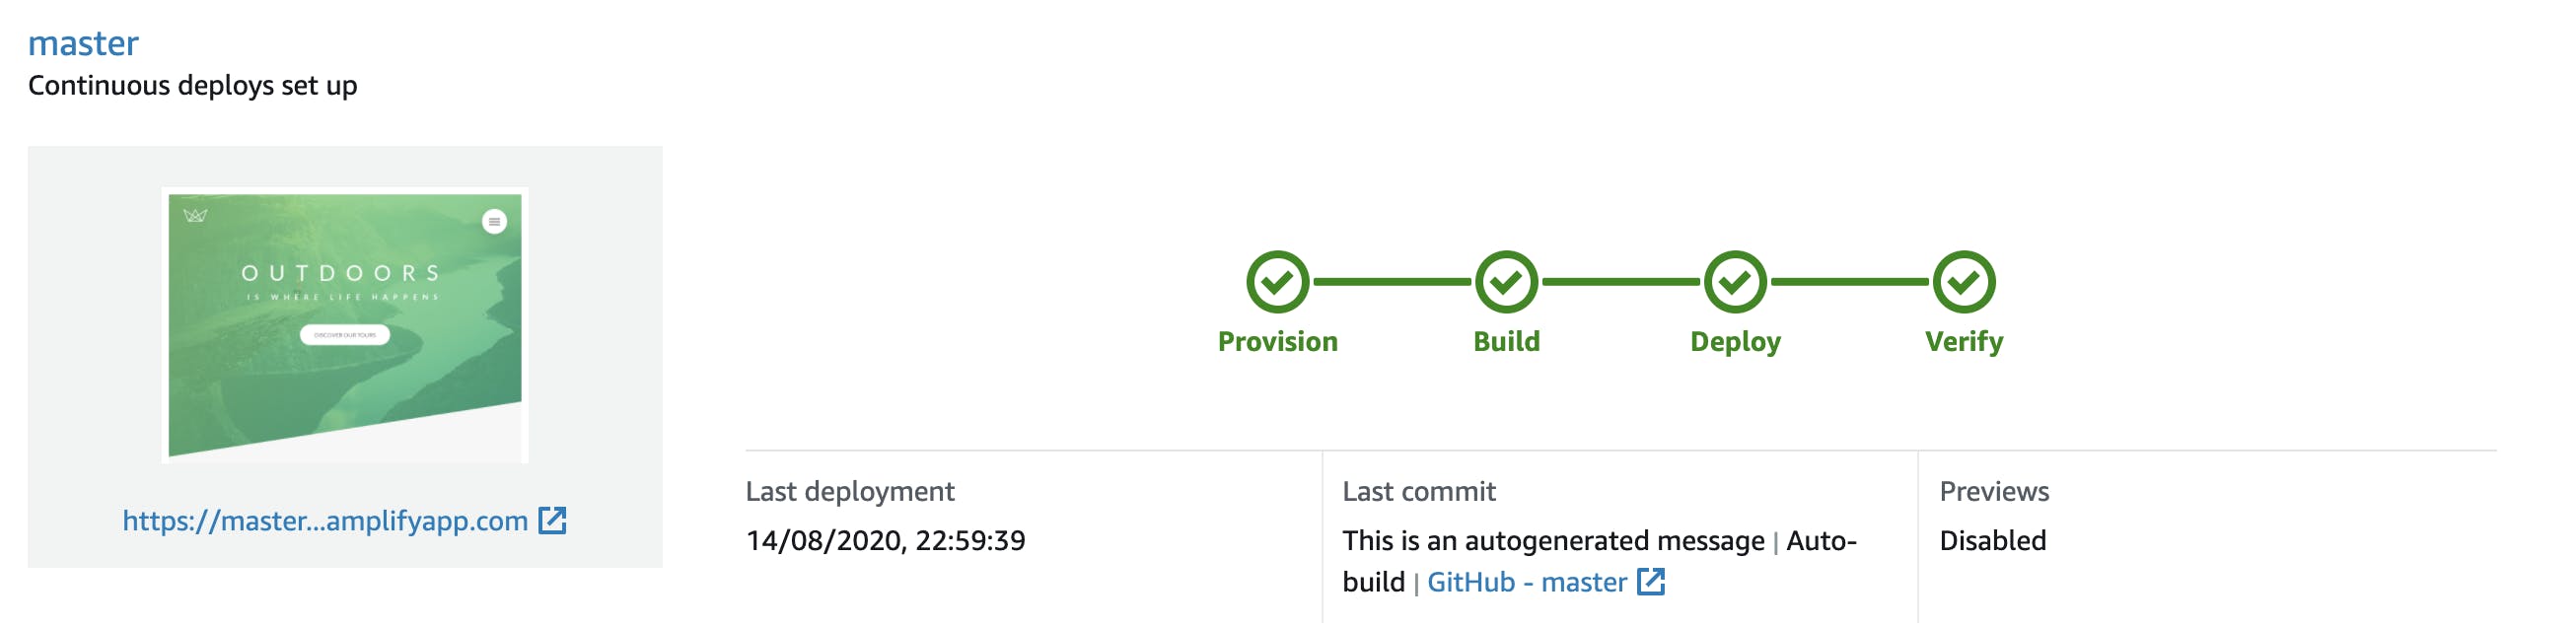
Here is the link to the website I just deployed!
Thanks for reading and following along, Peace ☮✌️.
Feel free to reach out to me:
GitHub - github.com/iabhishek07
Twitter - twitter.com/I_AM_Abhishek07
LinkedIn - linkedin.com/in/abhishek-wagh-674283141
EMail - waghabhi21@gmail.com